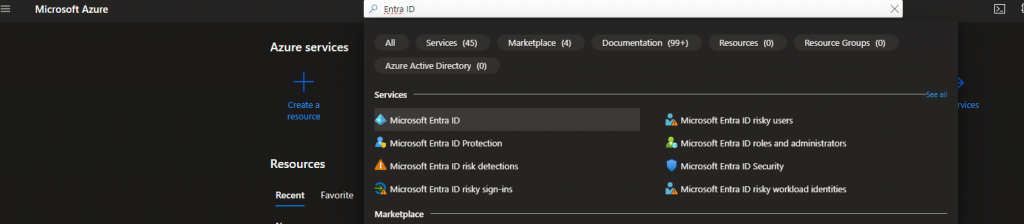
From All services, blade searches for Entra ID (the new name of Azure AD) and click on it.
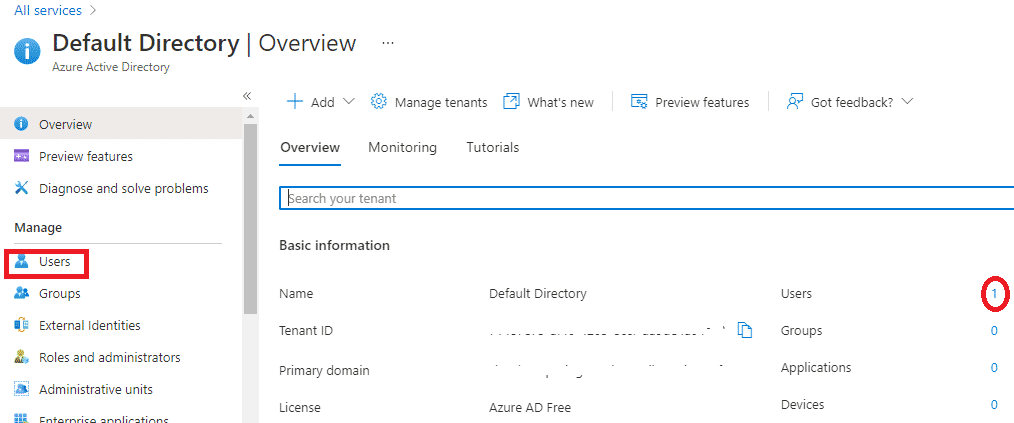
On Microsoft Entra ID blade under overview under manage select users tab.
On user blade please click on +Add tab
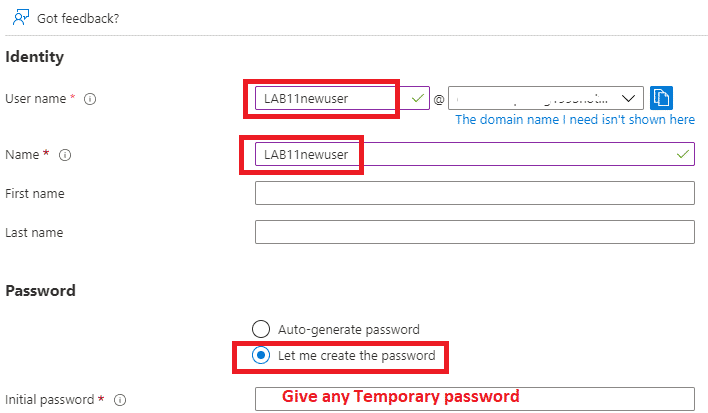
On the same page please scroll down to Identity and provide the below details:
User name: Provide the user name, it will display a notification if the user name already exists.
Name: Provide the full name or display name
First name: Provide the first name
Last name: Provide the last name
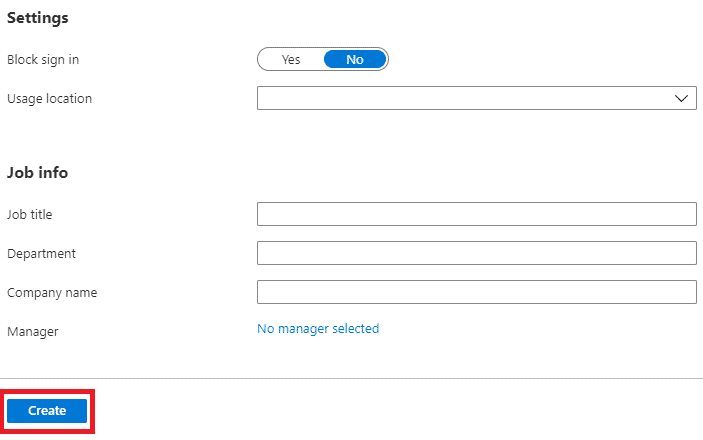
Under Password select let me create a password option it is easy to remember to give the password of your choice, scroll down to bottom leave rest options as default, and click Create.
Once the user is created you will land on the below page where you can see the newly created user name in the list of users click on LAB11newuser to see the user details
On LAB11newuser blade you can see the options to edit details of user profile like job role etc., you can also reset the users’s password from here and revoke the user’s session. The user ID can also be deleted from here.
Now that you have created the User successfully let’s try to log in to the Azure portal with this user ID
From the Profile page of the user shown above copy the user name ending with .onmicorosoft.com
Open another browser or open a tab in private incognito mode and search for https://portal.azure.com
On this page give the user ID and click on Next
On this page give a password and click next you will be asked to change the password for the first time when you log in give the Old password, new password and confirm the password and click sign in
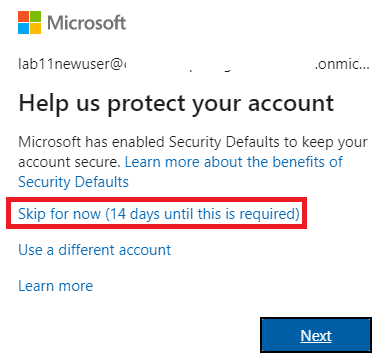
You will be prompted for MFA registration if security default, SSPR, or any Conditional access policy is enabled, there can be many other reasons for the prompt of MFA, you can register MFA OR skip it, for now, here I have selected skip
After authentication succeeds you will land on the Azure portal you can check the user ID from the top right side.